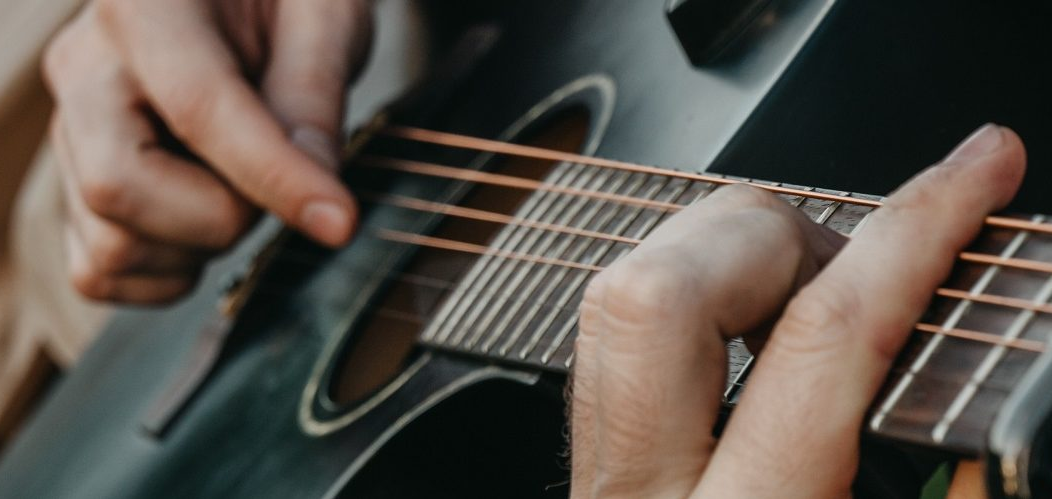
To make the capo on the guitar is one of the techniques with which we have more difficulties when we begin to play. This usually happens when we want to play a song that we like and we realize that in that song there is a chord called FA that is played with capo.
In this post I will give you some tips so you can master the capo chords on the guitar in a gradual way. Before moving on to the exercises of point 3 it is important that you pay attention to some previous steps that consist of:
- Knowing how to put the capo on the guitar
- How to put the capo wrong, so as not to make these mistakes.
How to put the capo on the guitar: The index finger
To make chords with capo correctly you have to pay attention to how the index finger of the left hand is placed, because the most typical mistake is to make the capo with the finger completely straight starting from the fingertip, when in fact you have to do it with a lateral part of the finger and not in the middle of the fret but a little off-set to your right. Look at the images:

Capo chords: Incorrect positions
Now that we know the correct way to put the capo, it’s time to look at the different incorrect ways to put the capo on the guitar. Below I explain why these positions are wrong:

- a) Avoid putting a finger on top of the index finger:When playing the capo on the guitar, do not use any other finger.
- b) Fingers open and not arched:Fingers should not be facing outward.
- c) Finger 1 protruding through the neck:This option will only be correct if the finger is positioned correctly (point 1) and you have long fingers.
- d) Finger not straight, last phalange:This option is incorrect since notes 1 and 2 are not being stepped on with the capo, therefore they will not sound.
- e) Completely straight finger:We have already explained in the image above that it is not placed straight.
- f) Finger on the wrong side:This is the worst position of all because you can hurt your wrist and arm. I recommend that you don’t even try it. Also with this position your forearm will not be positioned correctly since the forearm, when you play a capo, has to be parallel to the guitar.
Making the capo on the guitar: exercises
Now, let’s go to the exercises to do the capo on the guitar. I recommend not to do these exercises in one go. It is a good idea to do 1 every other day until you get used to these new positions.
You can start with 1 and gradually do a different one every day. However, the requirement is that before moving on to the next one, the previous one must be mastered.
- start with 3 strings descending from fret 5 to fret 1. Alternate with open strings to make the capo on the guitar.
- Same procedure but check that all notes sound. If they do not sound, check point 1.
- We add other strings to make the capo well. This way until completing the 6 and we follow the same procedure of the exercise 1 and 2.
- We go back to the 3 strings, check that the phalange is completely straight and we are going to add the middle finger to play a 7th chord, a major and a major chord. We will do the same with the ring finger.
- all the capo and middle finger on string 2 and 3
- capo complete with ring finger on strings 4 and 5
- capo with 2 fingers, middle and ring descending
- Full capo chord: We make the F by putting it on and taking it off, checking that all the notes sound.
These exercises are not meant to be done all in one day. Doing the capo on the guitar requires practice and practice requires assimilation. If you skip a day for exercise 3 it’s okay, just come back another day.
In short, in order to master the capo on the guitar you have to practice so that you can get used to it. your hands se get used to it. And remember, if it hurts at some point don’t continue. There is no hurry to do the capo on the guitar when our health is at stake.
